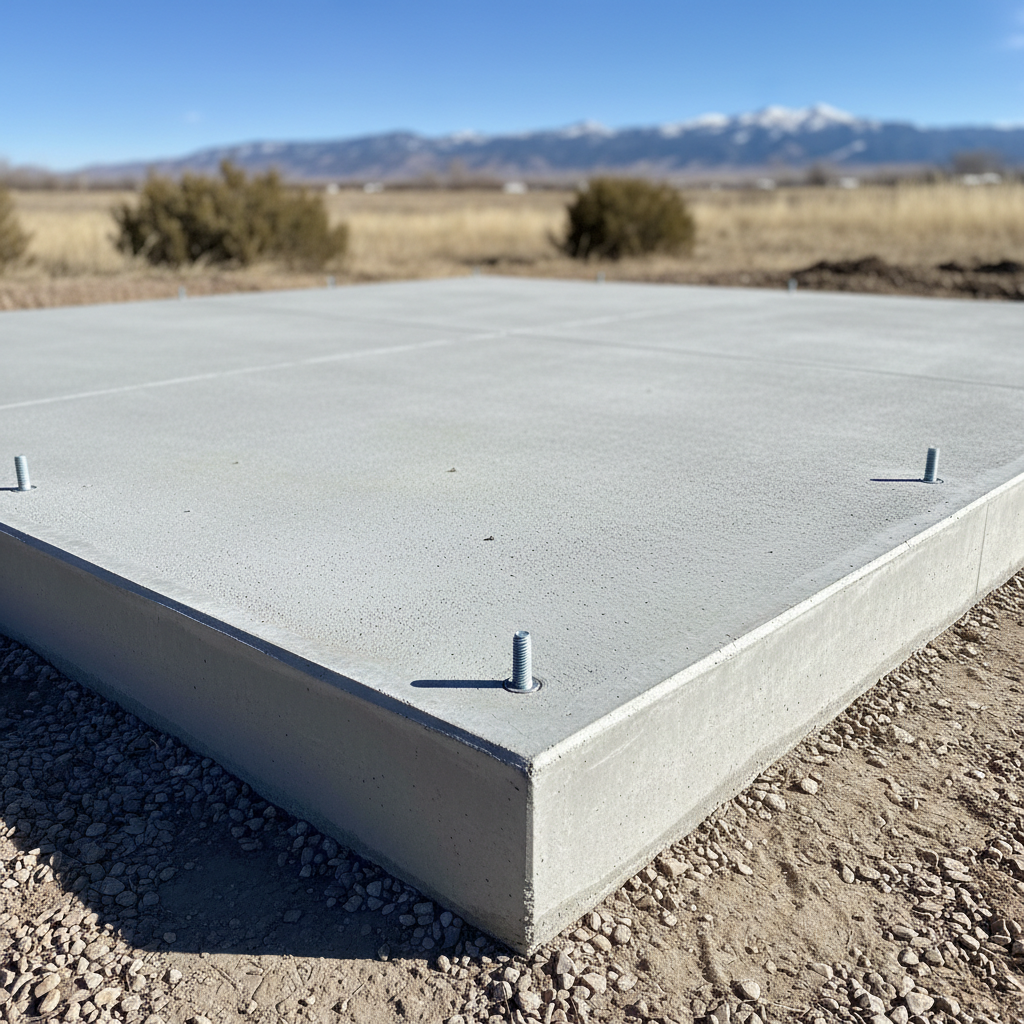
So, you're thinking about putting in a new shed? Awesome! A good shed can really change how you use your yard, whether you need space for tools, bikes, or just want to get some clutter out of the garage. But hold on a minute. Before you even think about the walls or the roof, you've got to nail the foundation. Trust me on this one: I've seen enough wobbly sheds and cracked pads around Loveland to know that cutting corners here is just asking for trouble down the road.
Before You Dig: Planning Your Shed Foundation
First things first, what kind of shed are you actually building? A small garden shed for hand tools is a whole different beast than a 12x24 storage building meant to hold a riding mower and a bunch of heavy equipment. The size and weight of your shed pretty much decide the foundation type. You've got a few main choices: simple skids, a gravel pad, or a concrete slab. Each one has its place, and honestly, each comes with its own level of DIY difficulty.
You'll also need to check in with the City of Loveland's building department. I know, I know, paperwork. But it's super important. Depending on your shed's size and your property's zoning, you might need a permit. Even if you don't, there are setback requirements – that's how far your shed needs to be from your property lines. You really don't want to build a perfect foundation only to discover it's too close to your neighbor's fence and you have to move it. What a headache that would be!
And don't forget about drainage. We get some serious snowmelt and heavy rains here, especially in the spring, right? You definitely don't want water pooling around your shed, or worse, underneath it. Grade your site so water flows away, not towards, your foundation. This is extra important if you're building on a slope, which isn't uncommon in some of the older neighborhoods closer to the foothills.
DIY vs. Pro: What You Can Tackle
Okay, let's talk about what you can realistically do yourself. If you're putting in a smaller shed, maybe 8x10 or 10x12, and you're going with a simple skid foundation or a well-built gravel pad, you can probably handle a lot of the prep work. This usually means:
- Clearing the Site: Get rid of any grass, weeds, rocks, or debris. You want a clean slate to work with.
- Leveling: This step is probably the most critical for any foundation, period. Use a long level, a string line, or even a laser level to make sure your area is perfectly flat. If it's not level, your shed won't be square, and you'll run into all sorts of problems with doors and windows.
- Building a Gravel Pad: If you're doing a gravel pad, you'll need to dig down a few inches, lay down some landscape fabric (to stop weeds), and then add and compact several layers of gravel. I usually recommend at least 4-6 inches of compacted gravel for a good, solid base.
Now, when should you call a pro? If you're thinking about a concrete slab, that's usually when I tell folks to seriously consider hiring someone. Pouring concrete isn't just about mixing cement and water; it's about proper forms, rebar placement, getting the right slope for drainage, and knowing how to finish it so it's smooth and durable. If you mess up a concrete pour, it's a huge, expensive fix. Plus, it's heavy work, and you often need special equipment.
Also, if your site isn't just a little unlevel but has a significant slope, or if you're dealing with tricky soil conditions – like the expansive clay we sometimes see around here that can swell and shrink with moisture – a professional can assess the situation. They can then recommend the best approach, perhaps suggesting piers or a more robust engineered solution that goes beyond a simple DIY gravel pad.
During the Project: Tips for Success
No matter what foundation type you choose, measure everything twice, cut once. Or in this case, dig once. Seriously, being precise here saves you headaches later. When you're compacting gravel, rent a plate compactor. A hand tamper just won't give you the same density, and a loose base means your shed will settle unevenly.
If you're building a skid foundation, make sure your skids are pressure-treated lumber. They're going to be in direct contact with the ground, after all, and you want them to last. Elevating them slightly on concrete blocks can also help with airflow and prevent rot, especially with our occasional wet springs.
Don't rush it. Building a solid foundation takes time and patience. It's the literal groundwork for your entire shed. If you're feeling overwhelmed or unsure at any point, it's totally okay to pause and get advice. Sometimes just having a knowledgeable friend look things over can make a big difference.
After It's Done: Keeping Your Foundation Strong
Once your shed is up, don't just forget about the foundation. Do a quick check a few times a year. Look for any signs of settling, cracking (on concrete), or erosion around the edges of a gravel pad. Make sure plants aren't growing too close and trapping moisture against the base of your shed. Keep an eye on drainage, especially after heavy rain or snowmelt. If you see water pooling, you might need to add some extra grading or a simple French drain to divert it.
A well-built foundation is the backbone of your shed. It protects your investment, keeps your belongings safe and dry, and ensures your shed stands strong for years to come. Whether you're doing it yourself or calling in Loveland Shed Solutions to handle the heavy lifting, taking the time to do it right from the start is always worth it.